 By Colin Foster
Updated November 2026
To make your own camping lantern, you need a clear container, a light source and a way to diffuse the glow so it lights your campsite evenly. This guide covers three methods: a jar lantern with a tea light or LED, a bottle lantern with a battery light string, and a tin lantern you can build with basic hand tools. Each one takes under an hour and needs materials you can often find at home.
Choose Your Light Source First
The light source decides how bright your lantern will be, how long it runs and whether it is safe to use inside a tent. Battery-powered LED options are the safest choice for tents and vestibules because they produce no flame and no fumes. Tea lights work well outdoors, but they can overheat plastic and should never be left unattended.
Shopping for one? See our guide: Top 7 Solar Powered Camping Lanterns for Power Outages and Trips.
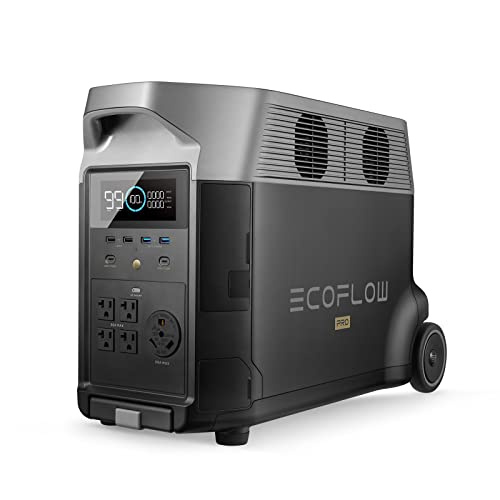
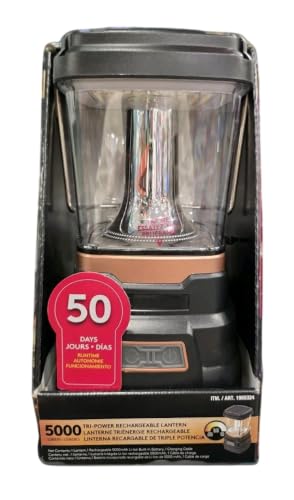
If you want a lantern that runs for multiple nights without changing batteries, pair an LED with a solid power source. Many campers use a small rechargeable unit alongside a standard camping lantern, as described in our guide to Rechargeable Camping Lantern 1000 Lumens: A Practical Guide (2026).
Build a Jar Lantern in Four Steps
A mason jar is the easiest container for a first build. The glass diffuses light well and the lid makes it easy to hang.
- Clean the jar and remove all labels and adhesive residue.
- Drill or punch a hole in the lid if you plan to hang it, or wrap wire around the neck of the jar.
- Place a battery tea light or LED puck inside, centered on the bottom.
- Test the light, then close the lid. Add a strip of wire or a paracord loop for hanging.
For a softer glow, rub the inside of the jar with fine sandpaper or spray the outside with frosted paint. Avoid painting the inside, since heat from a real candle can cause paint to crack or smell.
Make a Bottle Lantern with a String Light
A clear plastic or glass bottle with a battery string light makes a lantern that lasts a long time and spreads light across a wider area. Cut the top off a two-liter bottle, feed the string light inside so the lights sit near the bottom, and replace the cap or tape the cut edge to keep the bugs out. Plastic bottles are lighter and less likely to break on a rough trip.
Check the string light’s rated temperature before you start. Some cheap strings use hot incandescent bulbs, which can melt thin plastic. LED strings stay cool and are the better choice for this build.
Build a Tin Lantern for Long Trips
A metal tin lantern is sturdier and works well in windy conditions. Use a clean food can, punch holes in a pattern with a nail and hammer, and set the can on a flat surface with a scrap piece of wood underneath to protect the table. Insert a battery LED puck inside. The holes throw light in patterns across the ground and nearby trees.
Punch holes from the outside in, and smooth any sharp edges with a file or sandpaper before you pack the lantern. Sharp burrs can tear fabric or cut fingers when you handle the lantern in the dark.
Checklist of Materials and Tools
- Clear jar, bottle or clean food can
- Battery LED tea light, puck light or string light
- Wire or paracord for a hanging loop
- Hammer and nail (tin version only)
- Fine sandpaper or frosted spray (optional diffuser)
- Scrap wood or cutting board to protect surfaces
Recommended gear
A battery-powered puck light is the most practical part of any homemade lantern because it is sealed, cool and easy to swap in and out of different containers. View on Amazon
Wire lantern hangers make the jar version easier to suspend from a tent loop or tree branch without extra knots. View on Amazon
Common Mistakes to Avoid
- Using real candles inside a tent, where they can tip over or ignite fabric.
- Choosing a glass container for a trip where it may be dropped on rock or packed in a backpack.
- Leaving sharp edges on a tin can, which can cut hands or snag gear.
- Ignoring battery life, so the lantern goes dark halfway through the night.
- Placing a string light near heat or in direct sunlight for long periods.
FAQ
Is a homemade camping lantern safe to use in a tent?
Yes, if you use a battery LED instead of a flame. Real candles and tea lights with open flames should stay outside the tent and be watched at all times.
How long will a homemade LED lantern last?
Runtime depends on the battery size and brightness setting. A coin-cell tea light may run a few hours, while a larger battery pack can last through several nights on low.
What is the easiest homemade lantern for a beginner?
A mason jar with a battery tea light is the simplest build. It needs no tools beyond a drill or wire and takes about 10 minutes.
Conclusion
A homemade camping lantern is a quick project that can save money and give you exactly the light you need. Start with a jar and an LED for your first build, then try a bottle or tin version once you know what works for your campsite. Always choose battery-powered light sources for use near tents and fabric.
Related reading
- ZMNT LED Camping Lantern Review (2026): Is It Worth It?
- Top 7 Solar Powered LED Camping Lanterns for Power Outages and Trips
- Top 7 Best Solar Lantern Camping Picks Compared for Every Trip
- Top 6 Black Diamond Camping Lanterns Compared for Every Trip
Ready to choose one?
About Colin Foster
Colin Foster is part of our editorial team and reviews and edits our off-grid power for camping, RV & vanlife guides, checking product details against manufacturer specifications and owner feedback.